



Showing posts with label Bettina. Show all posts

Thursday, May 8, 2014

Designteam Spotlight Bettina

Bettina here today and I have a little make for you. I decided to use Pirate Adventure and make a little different project this time. 


I decided to go with a tag and first off I embossed it with a TH embossing folder.Then I used stencils from Tim Holtz to make a sunbeam and spotty waves to make it look like the little pirate is at sea. I used dylusions sprays to make the colours pop. I had some chipboards that looked like waves that I put on top of the tag abd added the image on top!My little pirate is coloured with my promarkers as usual. Hope you'll like it!!

Last but not least I would like to remind you that we have a new challenge going on over here. It is to use 3 from a given recipe you can find over here.

Have a fab thursday all!!

Thursday, March 27, 2014

Designer Spotlight

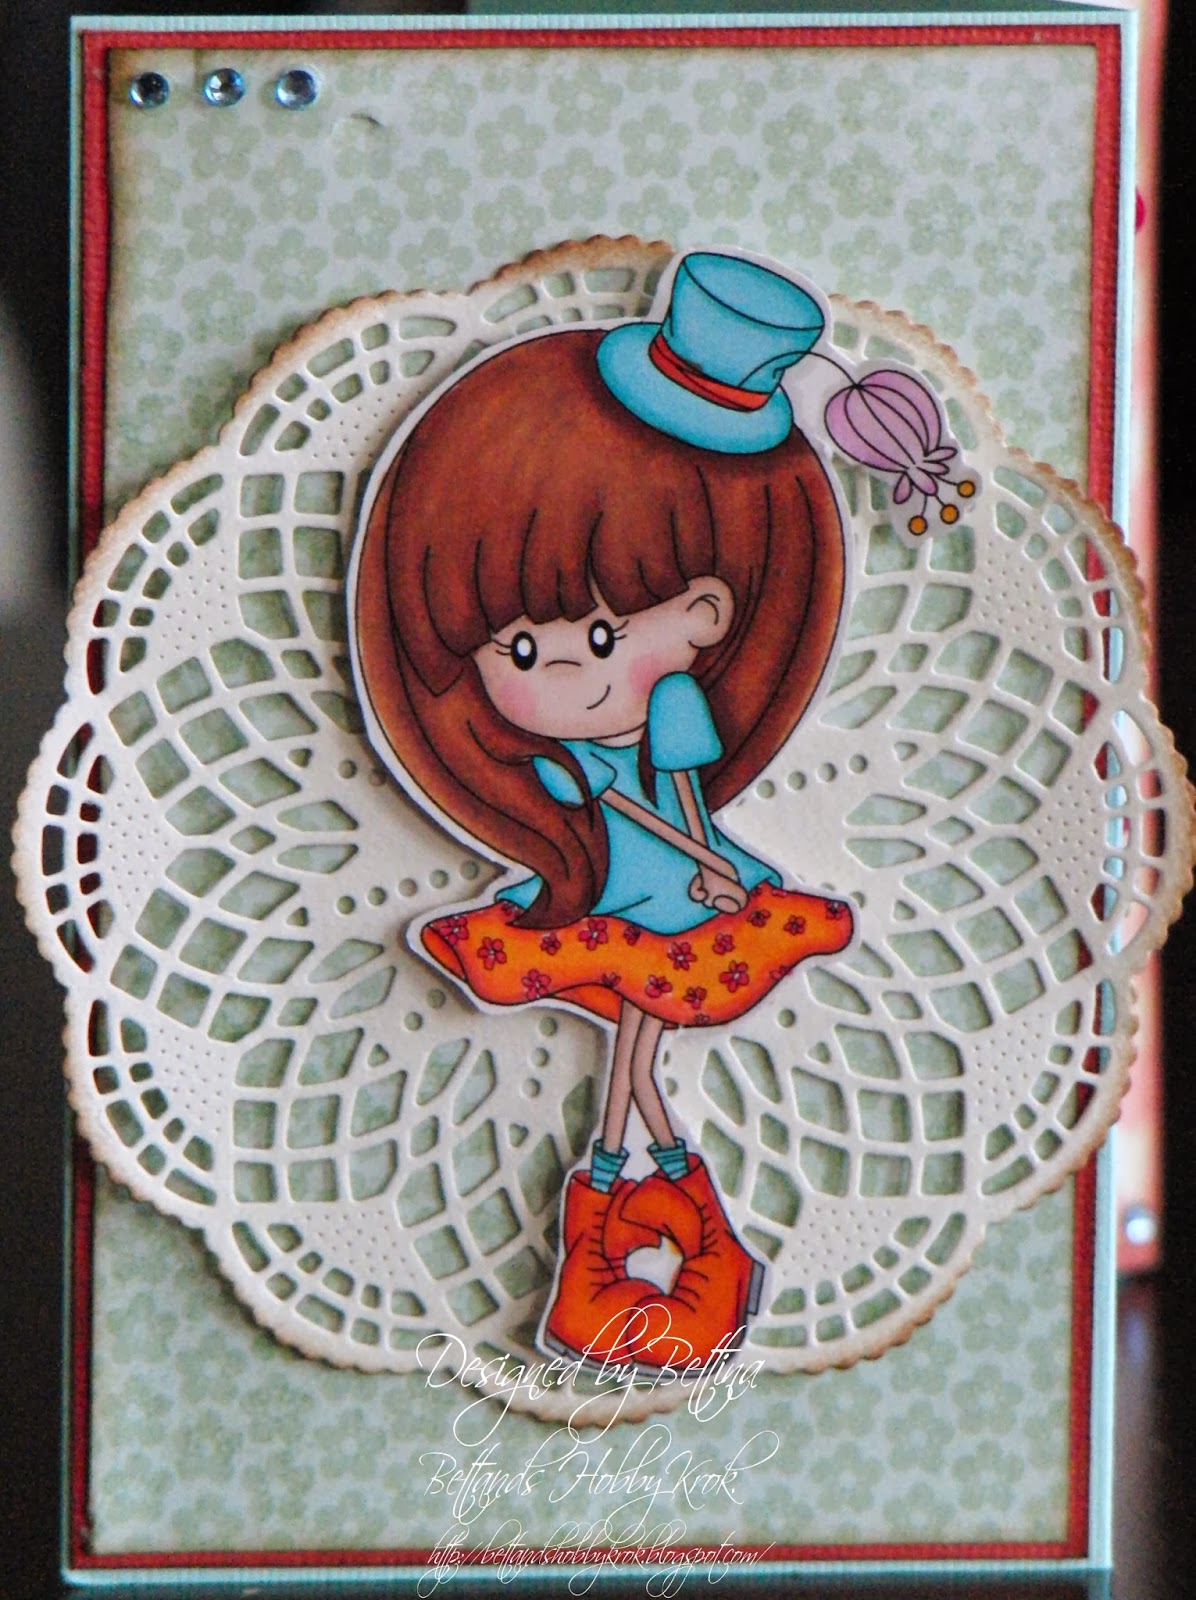
Hi, Bettina here today and I want to show you what some simple details to a sketch really can make it pop. I did use a sketch that I did find on Sketch n' stash . I did pop a diecut doily behind and added a heart, some pearls and a lace behind the image and popped it up. Doesn't Doctor Autry look so cute?? I really love how she turned out. 

You can have see more details in my blog. I hope you do have a great day and thank you for looking :)

Be sure you check out our Challenge, and our new A Random Sketch challenge!

Thursday, February 13, 2014

Design Team Spotlight

Bettina here today and  I am going to share a fold that is quite new to me, that I found on SplitCoast Stampers for the first time here. I made a little tutorial of how I made it.

You will need:

  • 5.5” x 10.5” card base
  • Coordinating cardstock or designer paper as desired to decorate card panels
  • Paper trimmer
  • Scoring tool
  • Adhesive
  • Alphabet stamps or dies, and other embellishments to decorate card


  • First step is to score the 5,5" x 10,5" base at 3,5" and 7" and fold as a  mountain fold and valley fold. 

    Close the valley fold, and cut in 1.5” along the fold at these intervals: 3/8”, 1 3/8”, 1 5/8”, 2 5/8”, 2 7/8”, 3 7/8”, 4 1/8”, and 5 1/8”. Then you score the ends at the 1" slits.
    It should look like this after it's done:

    Then it is time to decorate the card, first off with the designpapers cut to fit:

    Then I used my Big Shot to diecut some alphabet letters:

    Then I decorated the rest of the card, so my finished product looks like this:

    Some closeup details:


    You can find my little cute Little miss bashful over here